Best Practices
4 Images: Add a simple informative image with alt text to a page and the media library
Heather Caprette
The process below shows the steps you would take when inserting a simple image that conveys meaning to a Pressbook chapter/page.
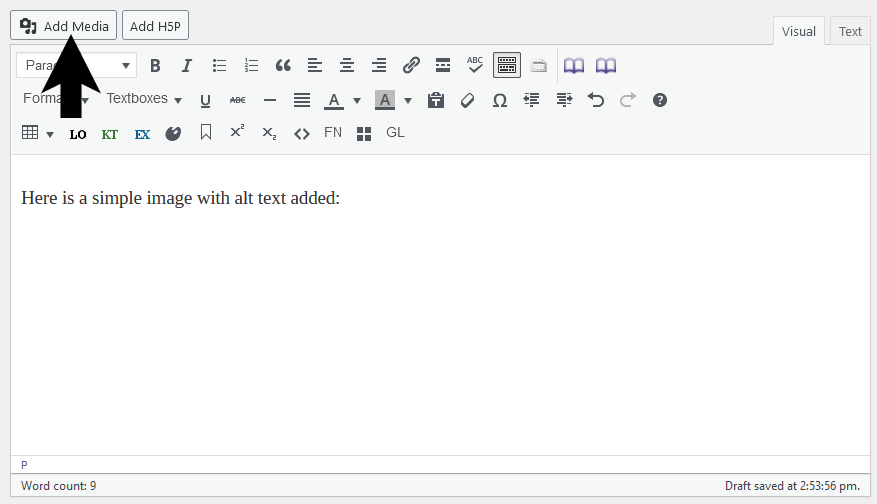
- With the cursor at the spot in the page where you want to insert an image, click the Add Media button.
- You will be taken to the Add Media screen. Click the Upload files tab.
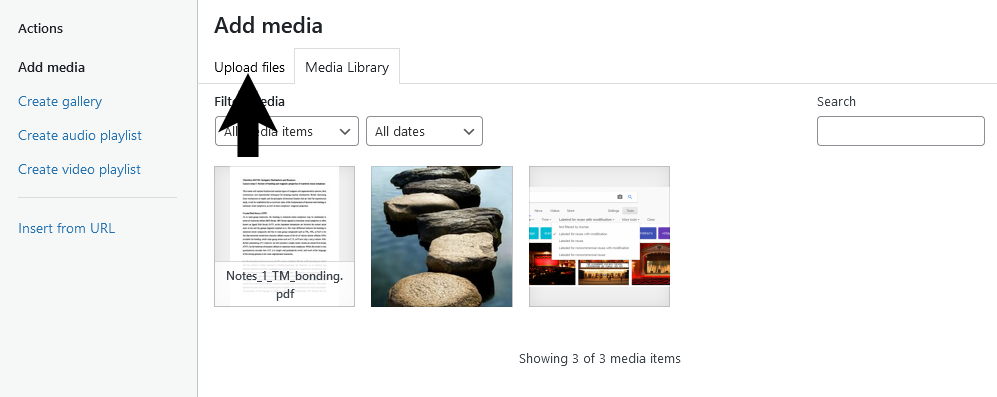
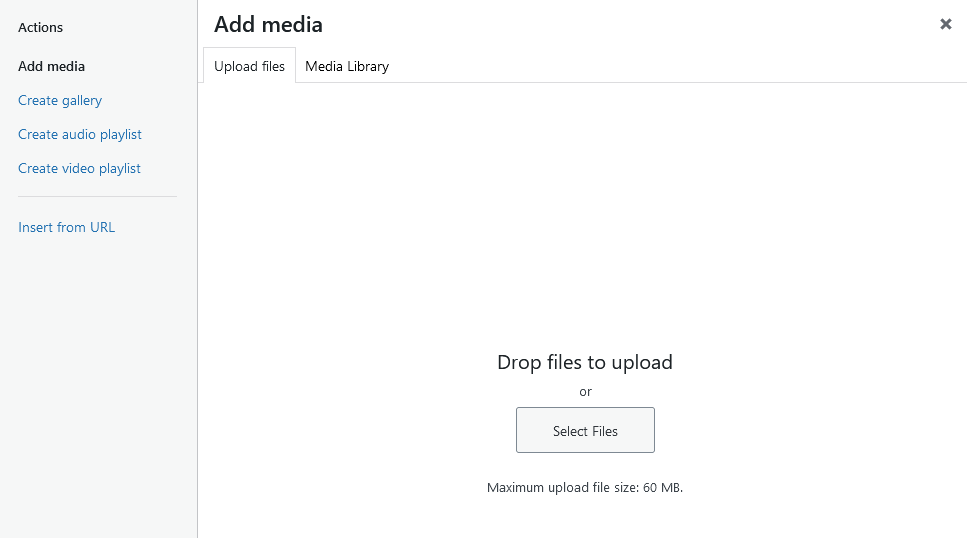
- Click the Select Files button. Navigate to where the image is on your hard drive, select it, and click Open to upload the image.
- Once the image has uploaded to the Media Library, you will see it selected with a check mark and blue outline. You can now begin filling out the details about the image in the pane on the right.
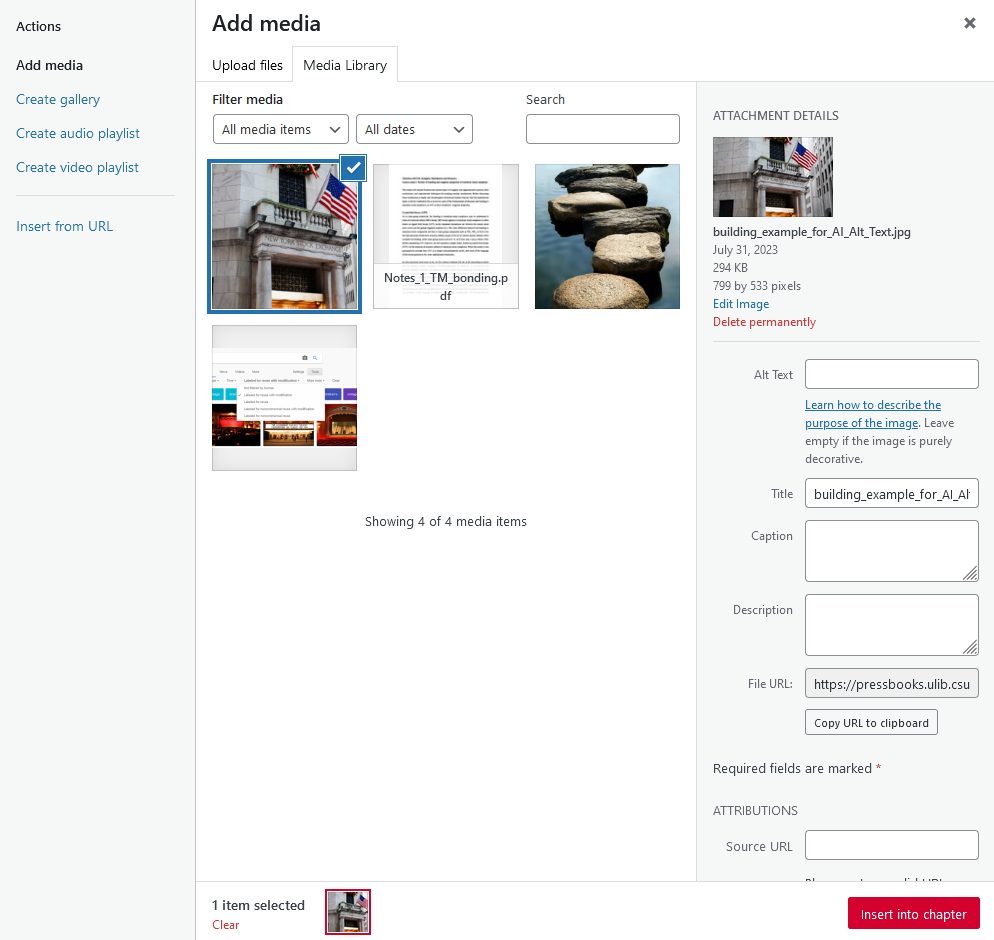
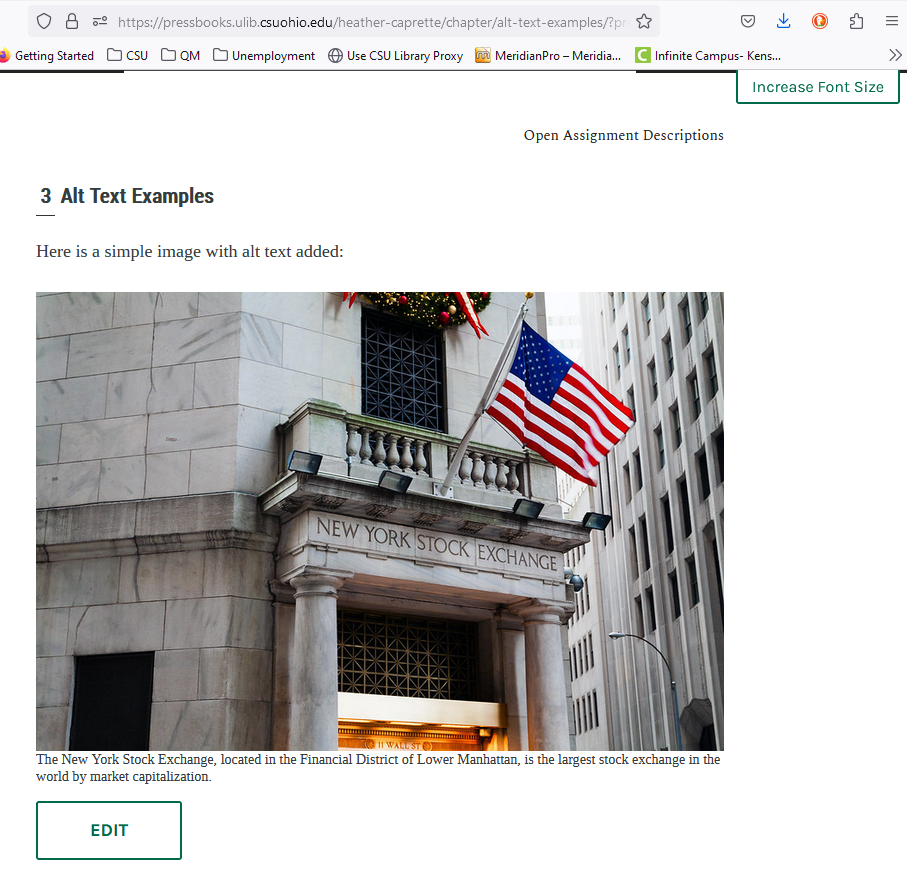
- Enter the short (125 characters or less) alt text description in the Alt Text field. This is what a screen reader will read to someone who is blind. Be sure the information conveys the same meaning image has to a person who is sighted. In this example, we use the following as an alt text description, “U.S. flag mounted over the entrance to the New York Stock Exchange.”Artificial intelligence in PowerPoint currently identifies this image as, “A flag on a building.” However, if we are putting this image in a history or economics text book, the type of flag and the identity of the building is important and relevant in this case. It’s better to go with the more specific description. You can fill out other fields when adding an image. A Title will show when a user hovers their mouse over the image. It should be short and concise. A Caption will show below the image, within the page. The Description is information that is internal to the Media Library, such as information shared with other authors or editors. It is not seen within the page. The image below shows these fields filled in.

- Scroll downward in the image details on the right. Enter Attributions for the image. In this case, we are using an openly licensed image found on Flickr. The page where the image is within Flickr is the Source URL. The photographer’s name is entered into the Author field. The Creative Commons license he chose for the image, i.e. CC BY-NC, is selected from the drop down menu in the License field. You can also select image alignment within the page. If you are uploading a Word or PDF, you can select, “Link To” and select the file for attachment.

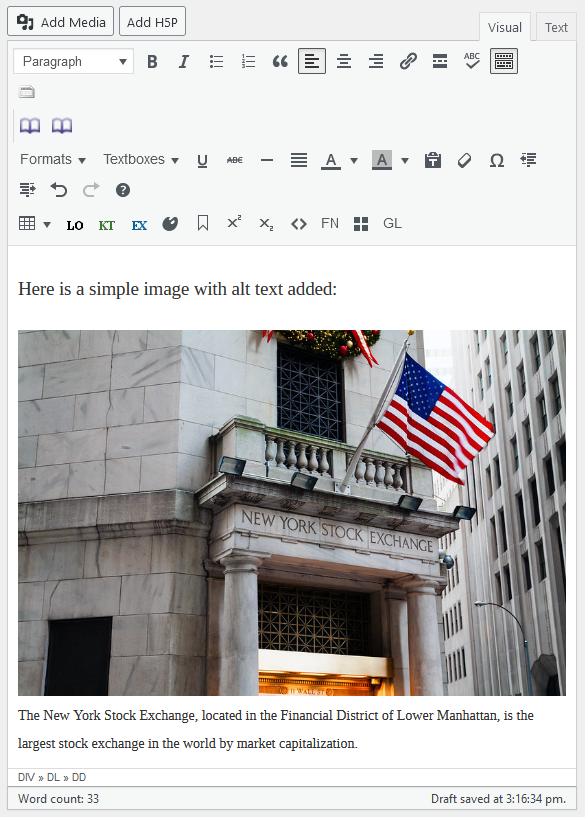
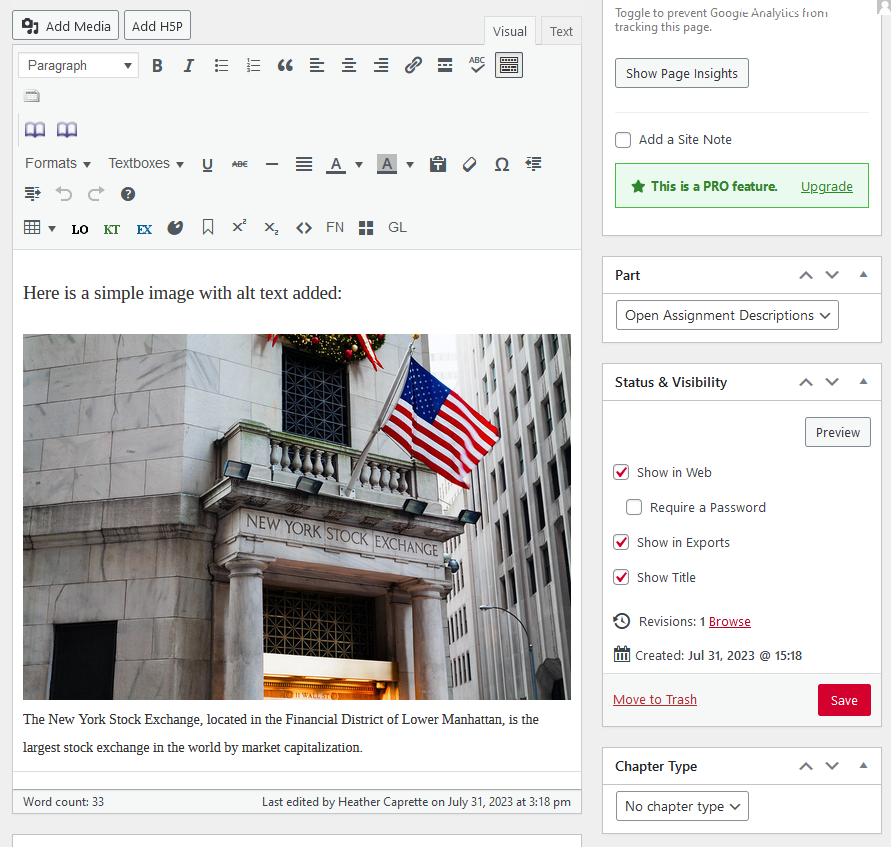
- Click the Insert into Chapter button. Below shows how the image now shows in the editor.
- Once you Create the page, you can click the Preview button to see what it looks like in a browser.
- The browser view is displayed below. You can note the Caption text displays below the image.