Chapter 4. Project Planning and the Project Scope
4.5 Microsoft Project Tutorial
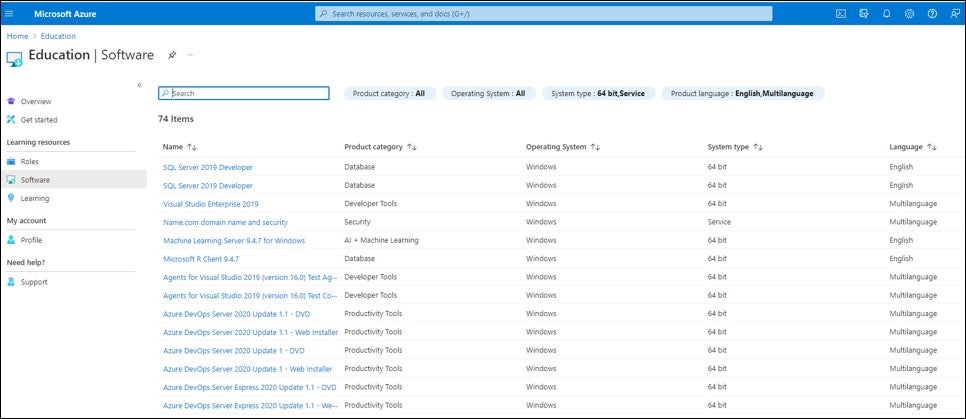
Microsoft Project is one of the most common software tools used in project management across the world. In this textbook, we use Project Professional 2019. Recently, Project Professional 2021 has been introduced. As the main functions remain the same in these versions, we will continue using the 2019 version. If new versions necessitate an update, the online version of this book will be updated. In this book, all our examples and screenshots are based on the 2019 version. At many universities in the USA, students may be allowed to access the Microsoft Azure website (https://portal.azure.com/) with their school credentials (username and password). Therefore, they can download Microsoft software programs on the “Education” webpage (Figure 4.2), such as Project Professional 2021 or 2019, Access 2016, 2019 or 2021, Visio Professional 2016, 2019 or 2021, and Visual Studio, as well as Windows 10 or 11.
If you have a MacBook, you cannot download MS Project directly. The only way to run MS Project on your MacBook would be to dual-boot Windows and macOS on your MacBook. You can visit https://support.apple.com/en-us/HT201468 for more information. Nevertheless, many school labs and libraries provide computers in which MS Project 2019 or earlier versions are installed.
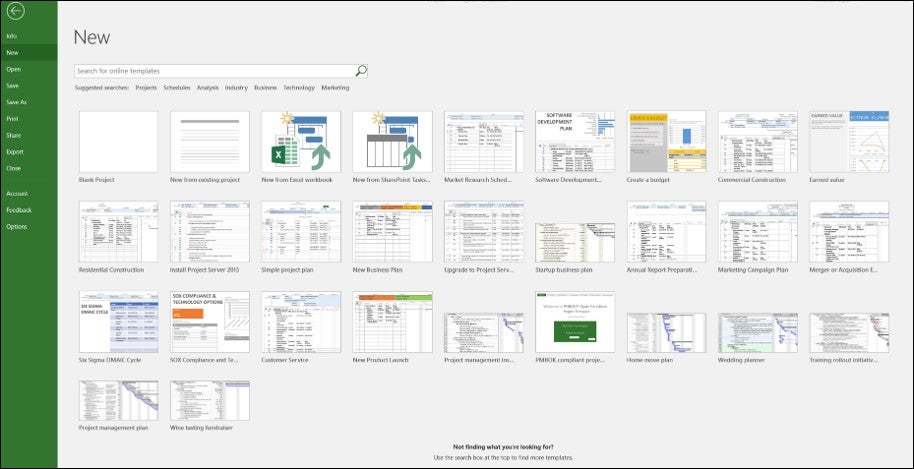
When you open MS Project for the first time, you can open a “Blank Project” or you can select a template (Figure 4.3).
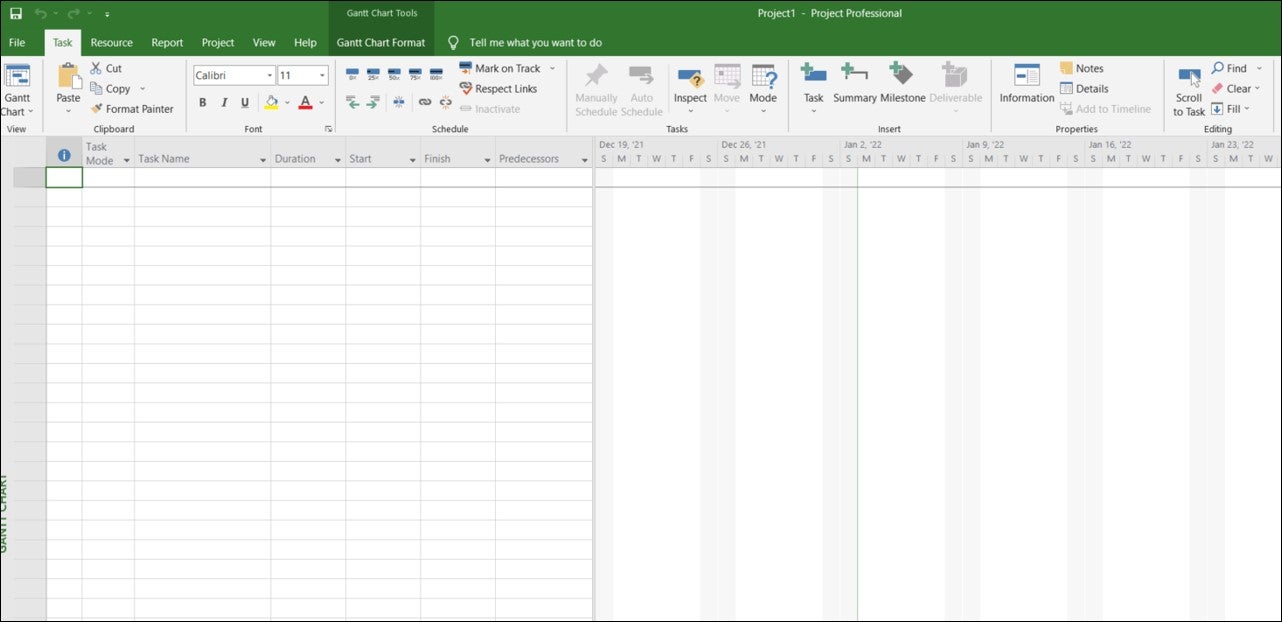
When you select “Blank Project”, the project page will open with a ribbon that includes tabs (in the same format we have on Microsoft Office programs such as Word, Excel, and PowerPoint) (Figure 4.4). While the default view is “Gantt with Timeline”, we changed it from “Options” to “Gantt Chart” view. Therefore, Figure 4.4 doesn’t display the timeline. In Figure 4.5, under Project View, default view is set as Gantt with Timeline.

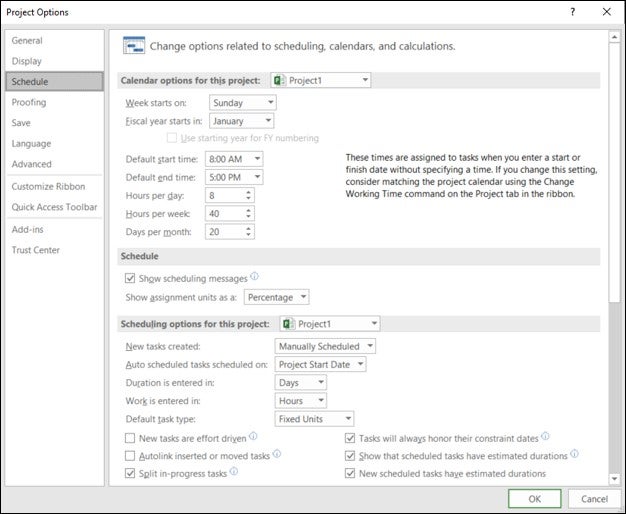
In this chapter’s tutorial and the following chapters, we will use “Gantt with Timeline” as our default view. Besides, we are not changing the schedule options. It means that we are not working at the weekends, and our durations are automatically labeled as “days”. However, we can type another unit such as a week (wk or wks) or month (mon or mons) (Figure 4.6).
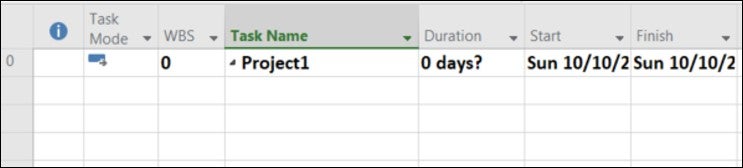
Under the “Format” tab, we should check “Project Summary Task” first. Therefore, our project’s total duration can be automatically calculated by MS Project. The row number becomes zero for the project summary task. If we insert a column titled “WBS”, the system also gives zero to this task. MS Project doesn’t use the name “Activity”, but “Task”.
For this MS Project tutorial, we will use letters and numbers for the activities. A is the project, and it is the highest level which is 1. The lowest level in our WBS is the third level.
| WBS Level | Activity |
| 1 | A |
| 2 | a1 |
| 2 | a2 |
| 3 | a21 |
| 3 | a22 |
| 1 | B |
| 2 | b1 |
| 3 | b11 |
| 3 | b12 |
| 1 | b2 |
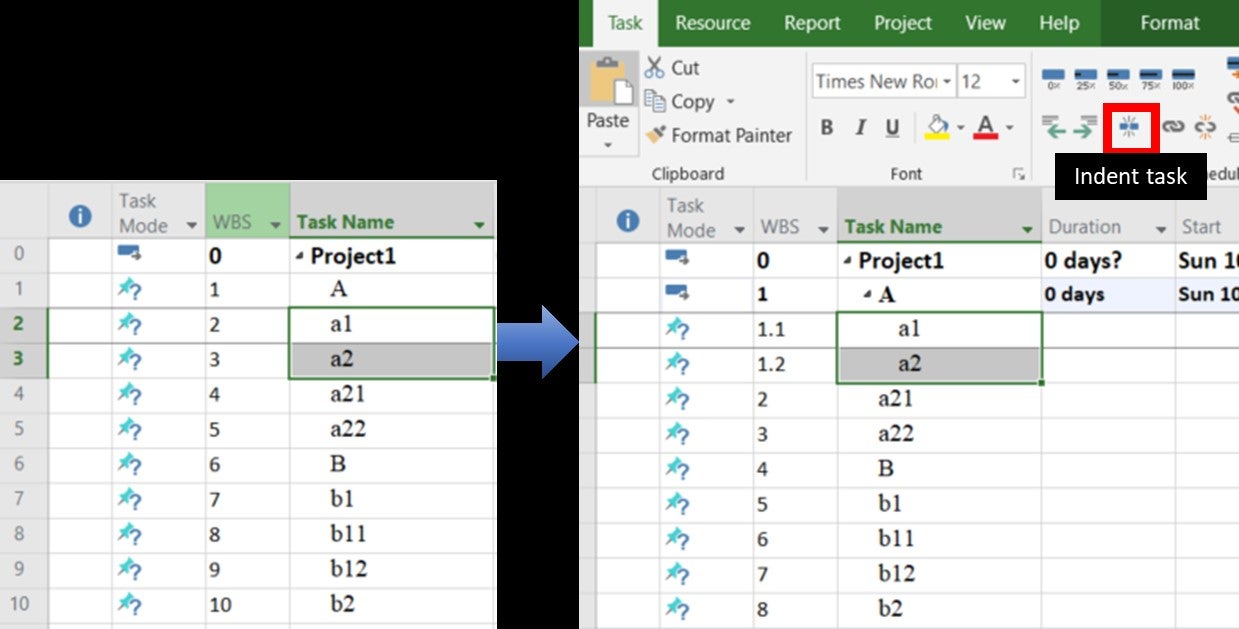
After we type all the activities, we can select a1 and a2, and indent them as both are under A (Figure 4.8). WBS numbers are given automatically by MS Project when we indent and outdent. After we indent a1 and a2, these two activities can be subtasks of A which could be considered as a phase or major deliverable.
For a21 and a22 at the third level, we should click the “Indent Task” icon twice as they are under a2 which is at the second level. Figure 4.9 displays the WBS numbers after all the activities have been indented.
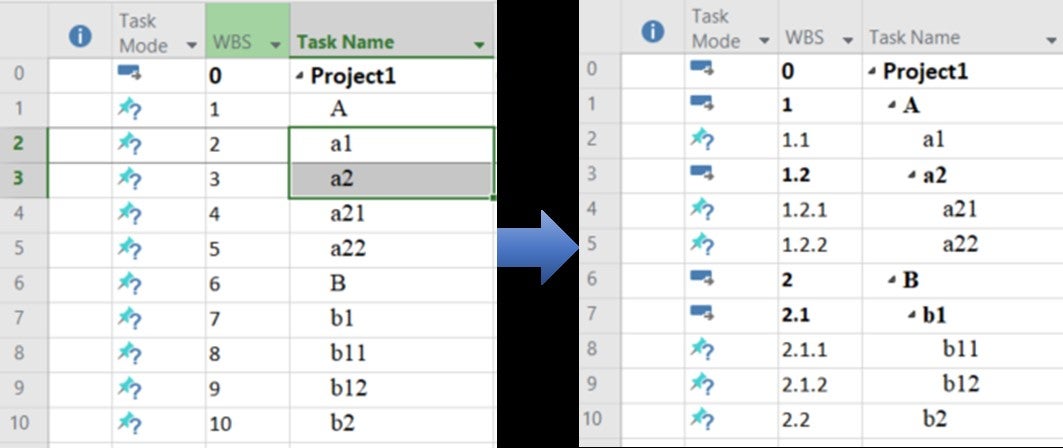
As can be seen in Figure 4.9, WBS numbers changed automatically when we indented the tasks. This tutorial served as an introduction to Microsoft Project and only discussed how a WBS can be created. Therefore, we have not typed the durations and predecessors. We will cover them in Chapter 7 “Scheduling”.
